
Design and Printing
Please read the following, before designing.
How to create a design
Editing and modifying designs
How Do I Remove the Background From My Images?
Printing Techniques and Quality Assurance - DTF vs. DTG Printing: Which Should You Choose?
How Can I Determine the Exact Position of My Print on the Garment?
Print Placement on Garments - Where can I print on an item?
Why can’t prints be placed on the bottom hem or pocket edges?
How to create a design
- Select Your Style Browse the marketplace and choose the style you’d like to customize.
- Access the Design Tool Click on the style to view its product details page, where you can confirm the fabric, color, and other specifications. Then, click Design to open the design tool.
- Upload Your Print In the design tool, upload a clear image of your print.
- Position and Adjust Your Design On the design canvas, position your print image and adjust its size and placement. Use the alignment or flip tools to help center the design or adjust it as needed.
- Save Your Custom Design Once you're satisfied with your design, click Save in to save your custom garment.
-
Review and Order Click Save and Add to Cart button.
Editing and modifying designs
I uploaded the wrong image and would like to change it, but I have already placed an order, can I redo the design?
If you would like to change the print, please contact customer service at help@sawai.store
How Do I Remove the Background From My Images?
Removing Backgrounds from Your Images
For the best printing results, we recommend uploading images with transparent backgrounds.
When uploading your design, you can use the built-in Background Remover available directly in our customizer. In many cases, this tool will automatically remove unwanted backgrounds with just one click.
If the result isn't quite what you're looking for, we recommend using a third-party background removal tool to achieve a cleaner, more precise cutout. Once you're happy with the image, simply save it as a PNG with a transparent background and upload it back into your design.
This helps ensure your artwork looks professional and prints exactly as intended on your garment.
Image Requirements
- Preferred format: PNG with transparent background
- Minimum resolution: 1000 x 1000 pixels
- High-resolution images produce the best print results.
- Avoid blurry, pixelated, or low-quality screenshots.
Important
Images uploaded with a background will be printed exactly as submitted. If you want only the subject, logo, or design to appear on the garment, please remove the background before uploading.
If you need assistance preparing your artwork, contact us at help@sawai.store and we'll be happy to help.
Remove background for better print quality
- If your design has a background similar to the color of the garment – the background will be printed and will look slightly different to the color of the fabric. Make sure that this is the result you are looking for.
- Otherwise, you can use the "Remove Background" tool to remove the background from your design.

When you upload your design images, it's important to check for any remaining borders around the edges. If you find any borders, please use software like Photoshop to remove them before submitting the images. This will help ensure that your designs look clean and professional.

Printing Techniques and Quality Assurance
DTF vs. DTG Printing: Which Should You Choose?
Choose the Best Printing Method for Your Design
Selecting the right printing method can make a big difference in how your custom apparel looks and feels. Whether you're creating bold graphics, detailed artwork, or vibrant full-color designs, understanding the differences between
DTF (Direct-to-Film) and DTG (Direct-to-Garment) will help you achieve the best possible results. Use this guide to compare each method and choose the option that best suits your design, garment, and desired finish.
| Feature | DTF (Direct-to-Film) | DTG (Direct-to-Garment) |
|---|---|---|
| Color Style | Vivid, saturated, bold | Soft, natural, textile-like |
| Transparency | Limited; appears solid | Excellent; smooth fading & glow effects |
| Line Detail | Sharp & defined | Smooth & organic |
| Comfort & Feel | Thin film layer on surface | Absorbed into fibers (breathable) |
Color & Appearance
DTF (Direct-to-Film)
Perfect for bold logos, vibrant graphics, and high-impact designs. DTF produces rich, highly saturated colors with excellent opacity, ensuring your artwork stands out without the fabric color showing through.
DTG (Direct-to-Garment)
Ideal for artwork that requires a softer, more natural look. DTG inks absorb into the garment fibers, creating smooth color transitions, subtle gradients, and a premium print that feels integrated into the fabric.
Example Comparison:
Left: DTF Print Result | Right: DTG Print Result
| Feature | DTF (Direct-to-Film) | DTG (Direct-to-Garment) |
|---|---|---|
| Line Detail | Crisp, sharp, and highly defined | Smooth, natural, and organic |
| Feel on Garment | Thin print layer sits on the fabric surface | Ink absorbs into the fibers for a softer, more breathable feel |
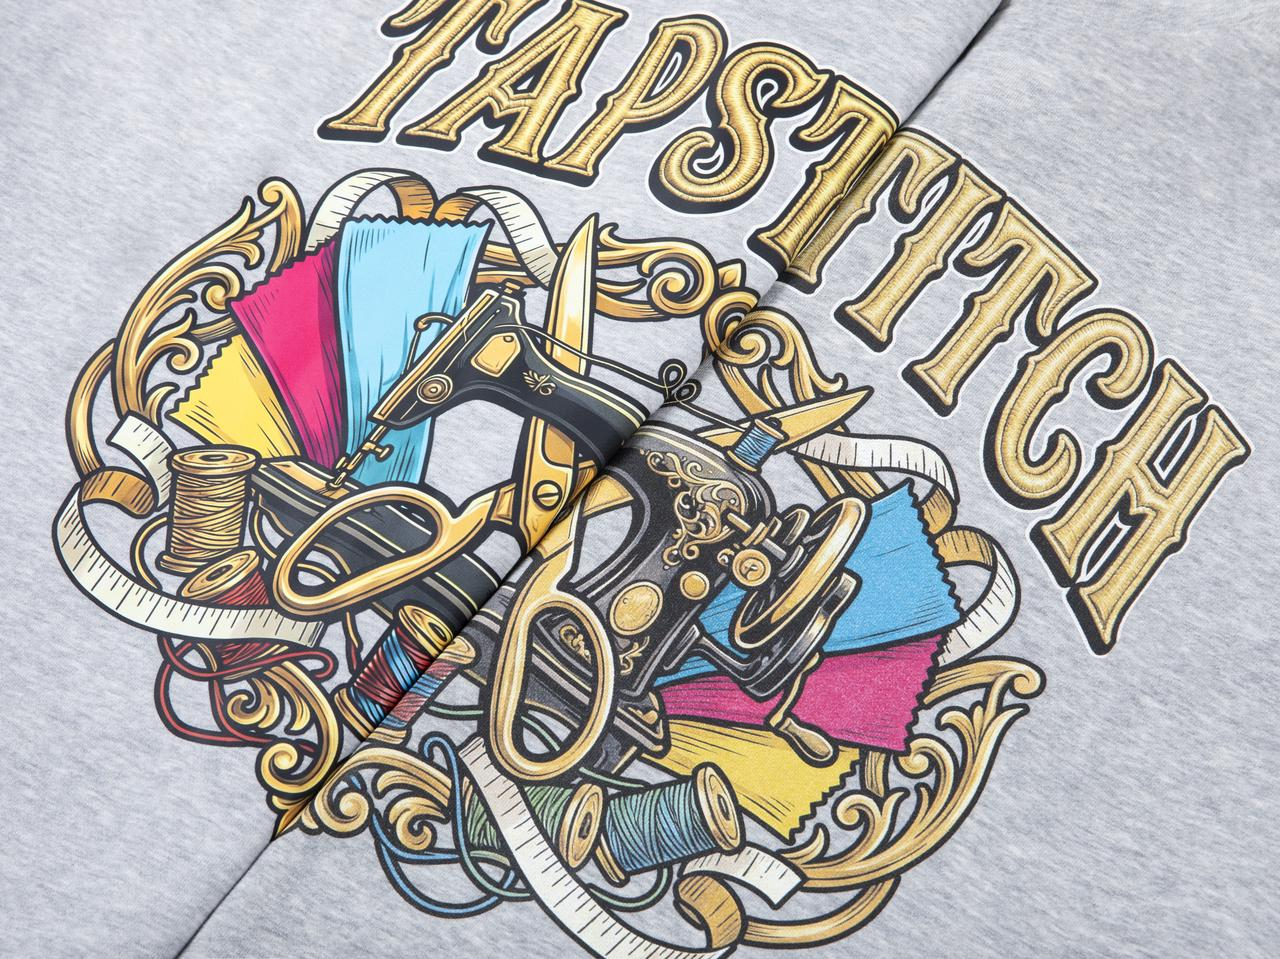
Gradients, Transparency & Special Effects
DTF (Direct-to-Film)
DTF printing creates vibrant, opaque designs with strong color coverage. Because the print sits as a solid layer on top of the garment, transparency effects and subtle fades may appear less smooth, making it best suited for bold graphics and solid-color artwork.
DTG (Direct-to-Garment)
DTG excels at producing soft gradients, seamless color transitions, and transparent effects. Since the ink is absorbed directly into the fabric, it can accurately reproduce fading, glow effects, vintage washes, shadows, and intricate artwork with exceptional detail.
Best Uses:
-
DTF: Bold logos, solid graphics, and high-contrast designs.
-
DTG: Vintage artwork, soft fades, glow effects, realistic illustrations, and detailed color blending.

Detail, Lines & Print Precision
DTF (Direct-to-Film)
DTF printing is excellent for bold artwork, crisp edges, and highly defined line work. It produces sharp, clean details that make logos, typography, and graphic designs stand out. For optimal print durability, extremely thin lines may be slightly adjusted during production.
DTG (Direct-to-Garment)
DTG printing offers a softer, more natural appearance with smooth curves and intricate detailing. It excels at reproducing fine artwork, illustrations, and complex designs with subtle transitions, making it ideal for designs that require a more organic, fabric-integrated finish.
Best Uses:
-
DTF: Logos, text-based designs, geometric graphics, and bold artwork with strong outlines.
-
DTG: Detailed illustrations, artistic designs, fine line work, and complex graphics with subtle shading and texture.

Comfort and Feel
DTF:
DTF prints form a thin film that sits on top of the fabric. This produces vibrant, durable designs, but in larger print areas it can slightly reduce breathability.DTG:
DTG printing absorbs ink directly into the fabric fibres, creating a softer, more flexible finish with excellent breathability and a more natural feel.
How to Decide Which to Use
Choose DTF if your design features:
- Bold, vibrant colours
- High-contrast artwork
- Sharp, well-defined lines
Choose DTG if your design includes:
- Gradients or transparent effects
- Vintage or artistic styling
- A focus on softness and comfort
Both DTF and DTG are high-quality printing methods, but they excel in different areas. Choosing the right one depends on your design goals and desired feel. If possible, it’s worth ordering samples of both to compare the look and texture in person.
How Can I Determine the Exact Position of My Print on the Garment?
You can change the unit in the Attributes section to a physical measurement such as centimetres or inches to estimate the distance between the print and the top edge of the design area.
Across all sizes, prints are positioned starting from the top-centre of the design area. We also aim to keep the distance between the top of the design area and the print consistent across every size.
Print Placement on Garments
Where can I print on an item?
Different garments support different print locations. We’re continually expanding our options to give you greater control and more customisation.
Why can’t prints be placed on the bottom hem or pocket edges?
All prints are positioned from the top-centre of the design area across every size. This ensures a consistent distance from the top edge of the design area to the print’s starting point.If a design appears close to the bottom edge of the design area (for example, near a hem, cuff, or pocket in the mockup), we can ensure consistency from the top of the design area across all sizes. However, we cannot guarantee that the spacing from the bottom edge will match the mockup exactly.
We’re actively working on improving placement controls and plan to introduce more flexible alignment options in the future, including placements based on hems or side seams.